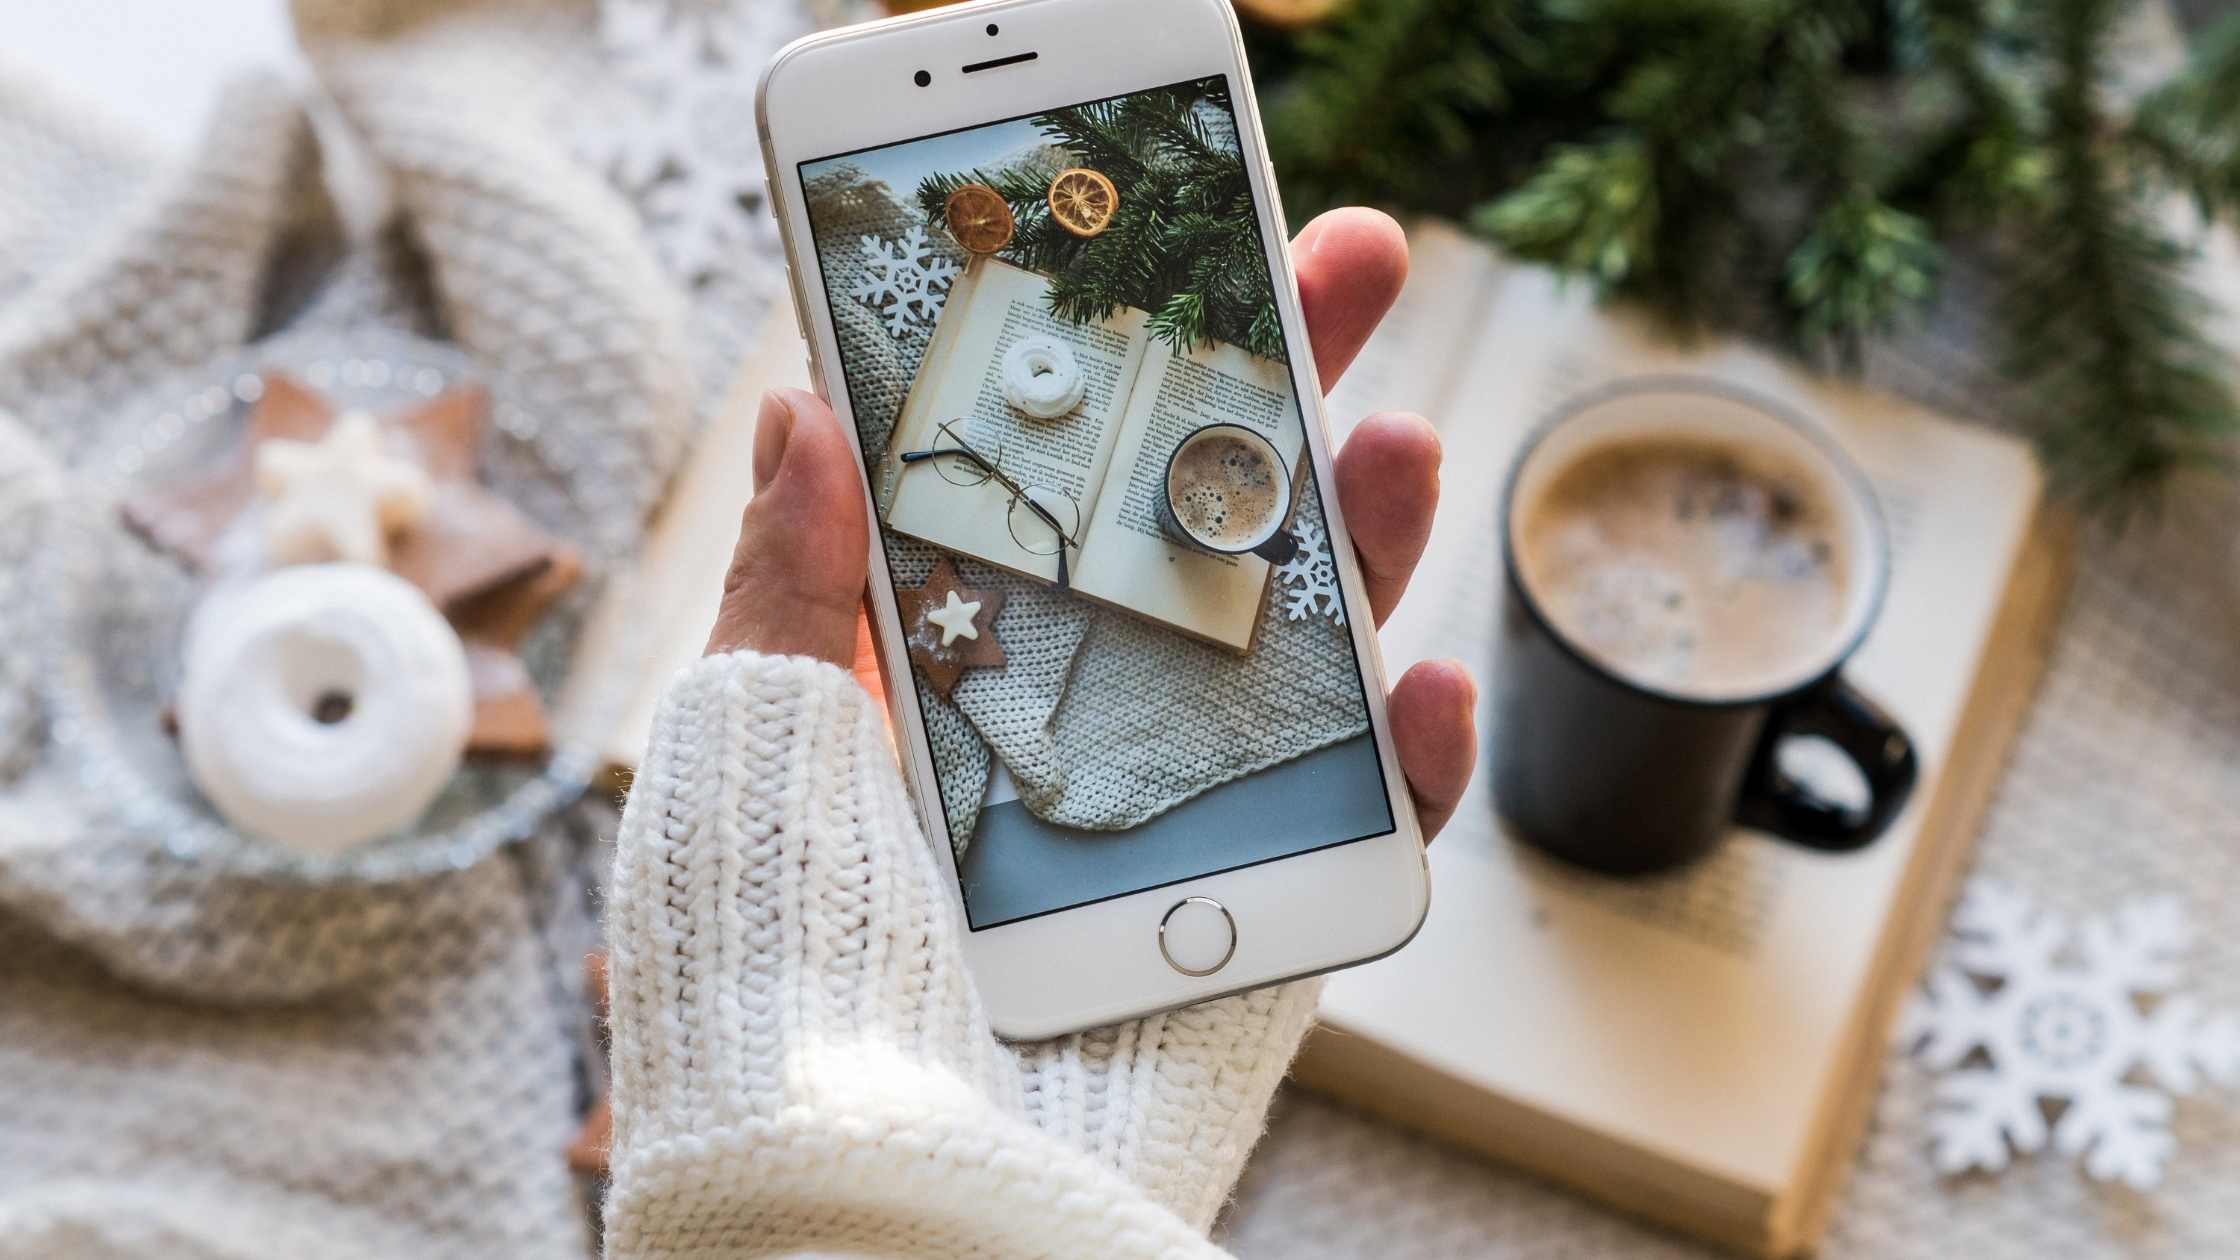
Clicking the perfect flatlay
- January 6, 2022
- Trends
Pictures on the gram whether it’s food, books, a mug of coffee or art work- all look great in a flatlay. We love them but when we try to create one ourselves, it ends up looking like a mess. Been there? Well, here are few tips to make sure you get the best of your flatlay photography. No, you don’t need a great camera, lighting equipment or an expensive phone. You can try this with what you already have as a content creator.
Firstly, ask yourself why
Okay, it would be a lot easier to create a flatlay if you narrow down what you want and why you are creating it. By why, we mean what you want to accomplish by creating the flatlay. Do you want to showcase a product? What is the messaging, i.e., what do you want people to feel seeing the picture?
Pick your background
Whether it is selfies, or a flatlay a clean background always works best. Keep it uncluttered with minimal elements. Too many things can confuse the viewer and draw their attention away from the star of the show- which could be your product, your book, your art- you name it. White sheets, fluffy blankets, plain varnished tabletops, distressed wood tables for that vintage look, marble or granite counters, or if you don’t have many options vinyl stickers that you can stick on tables, or even craft paper can make great backgrounds.
Let there be light
We cannot stress enough how important light is. You could use your handy ring light, but nothing can beat the radiance of natural light- preferably the morning bright sunshine. Avoid direct sunlight so you don’t get annoying shadows. Next to a window or outdoors in the shade works. Natural light brings more clarity and vibrancy to photos.
Time for the star to make an entry
Now that the background is set and the light is perfect you can bring in your star. So, let’s say your star is a book. Start by placing the book and then add the other major elements. These other elements could be a cup of tea, pressed flowers, or fresh ones, a pair of glasses, etc. Arrange them and look through the lens of your DSLR or phone camera. Are you satisfied? Keep at it, and play around till all the props work together to give you the first look
The supporting stars
Now that you have the major elements sitting together, it is time to add the secondary, supporting elements. The little trinkets. Again, if your star is a book, choose elements that support the star. You could add a pen/pencil, cute bookmarks, ribbons, pieces of paper. Just balance them with the major elements and your star so they all blend.
Play with colours but don’t mess with them!
Okay, if your star, the book is a pale peach colour and all the elements you’ve chosen for the flatlay are jarring shades of orange, red, blue- your star is going to look pretty dull, and the flatlay just a confusing mess. Understand the colour palette and choose shades accordingly. Your props must mix smoothly into the background and enhance the presence of the star, not dull it. If you have doubts stick with a black and white palette.
Now, shoot !
All set, now it’s time to click, click, click. Stand up on a chair or if you have a selfie stick/tripod, use that to position your camera/phone in a way the flatlay appears in a perfect grid. The lens needs to be aimed straight down. Once you have your shot, keep clicking more for back up. Edit it if you need to and then you’re good to go flaunt your flatlay on the gram!
If you enjoyed reading this post, write to us and get your post featured on BeStorified.
- 4 reasons why books on food are popular
- How to Go Viral on Pinterest: Secret Tips You Need to Know
- You’ve heard of Pushpa. Now meet the real town behind it, Chittoor!
- 5 Steps to Be Better Than Competitors in Business and Dominate Your Market
- Proven Methods to Increase TikTok Followers Fast and Easily


Comment (1)
10 easy ways to make reels without fancy cameras or equipment - BeStorified
16 Jul 2024[…] up your desk aesthetically. You can make use of Pinterest to search good flatlay ideas for this. Film a quick pan of your desk or workspace, showcasing your favourite items like your […]
Comments are closed.